How slab layout, seams, edges, backsplashes and storage planning make a kitchen look calmer and work better day to day.
A calm kitchen is one where surfaces, edges, appliances, storage and lighting meet cleanly. Stone has a lot to do with that, because it forms the longest continuous lines in the room. The simplest way to get there is to cut unnecessary changes: use one main counter material, repeat one edge, stop backsplashes where the cabinetry stops, and decide early where veining continues and where it ends. When those decisions are made before fabrication, the room stays orderly even in daily use.
Choose one focal surface
If every surface is dramatic, nothing stands out. Decide whether the island, the backsplash, the range wall or the fireplace is the focal point.
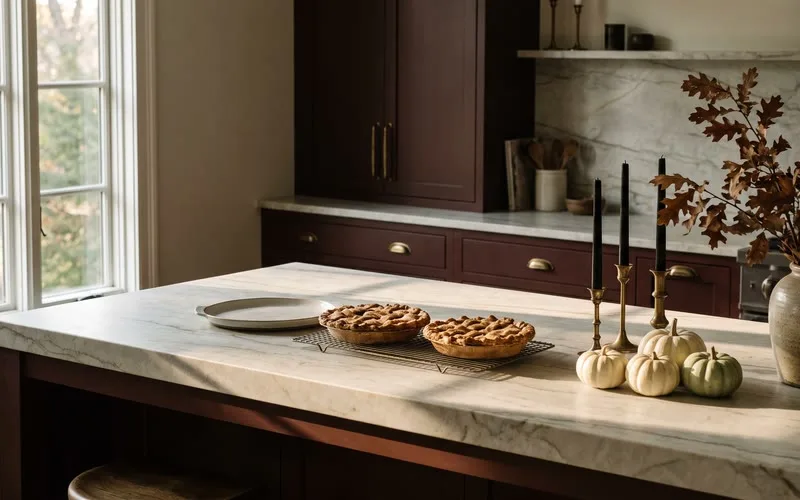
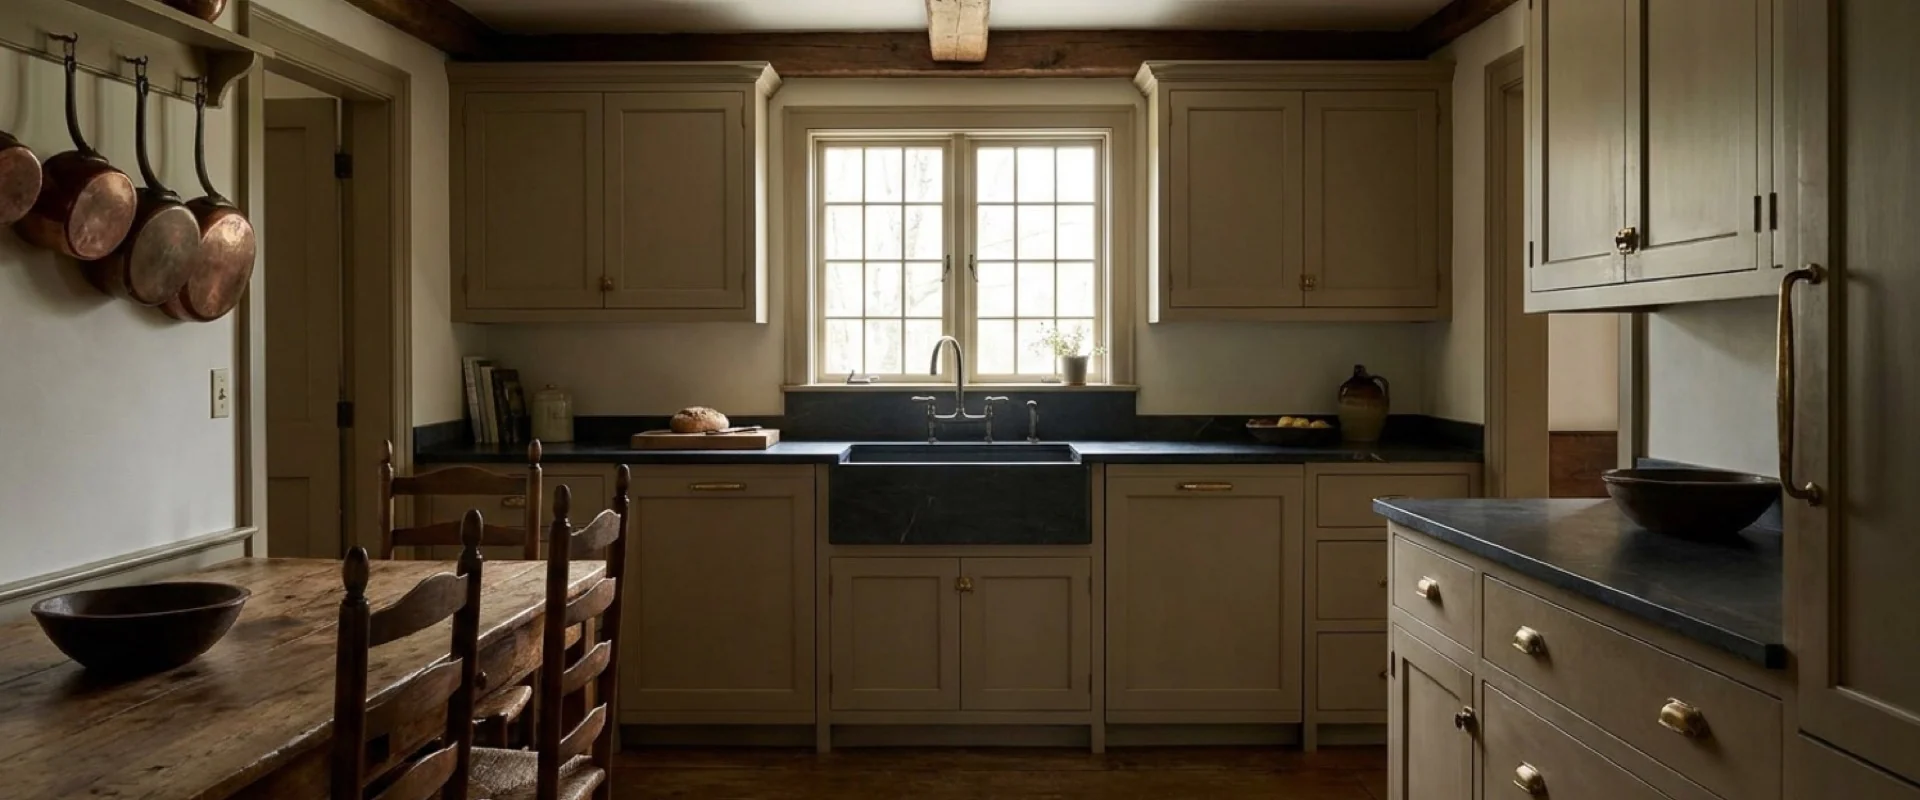
A strongly veined quartzite or marble can take the island and run down a waterfall end while quieter perimeter counters support it. A restrained counter lets a bookmatched backsplash become the feature. Soapstone or dark granite can make a quiet field that lets the cabinetry and hardware carry more of the room.
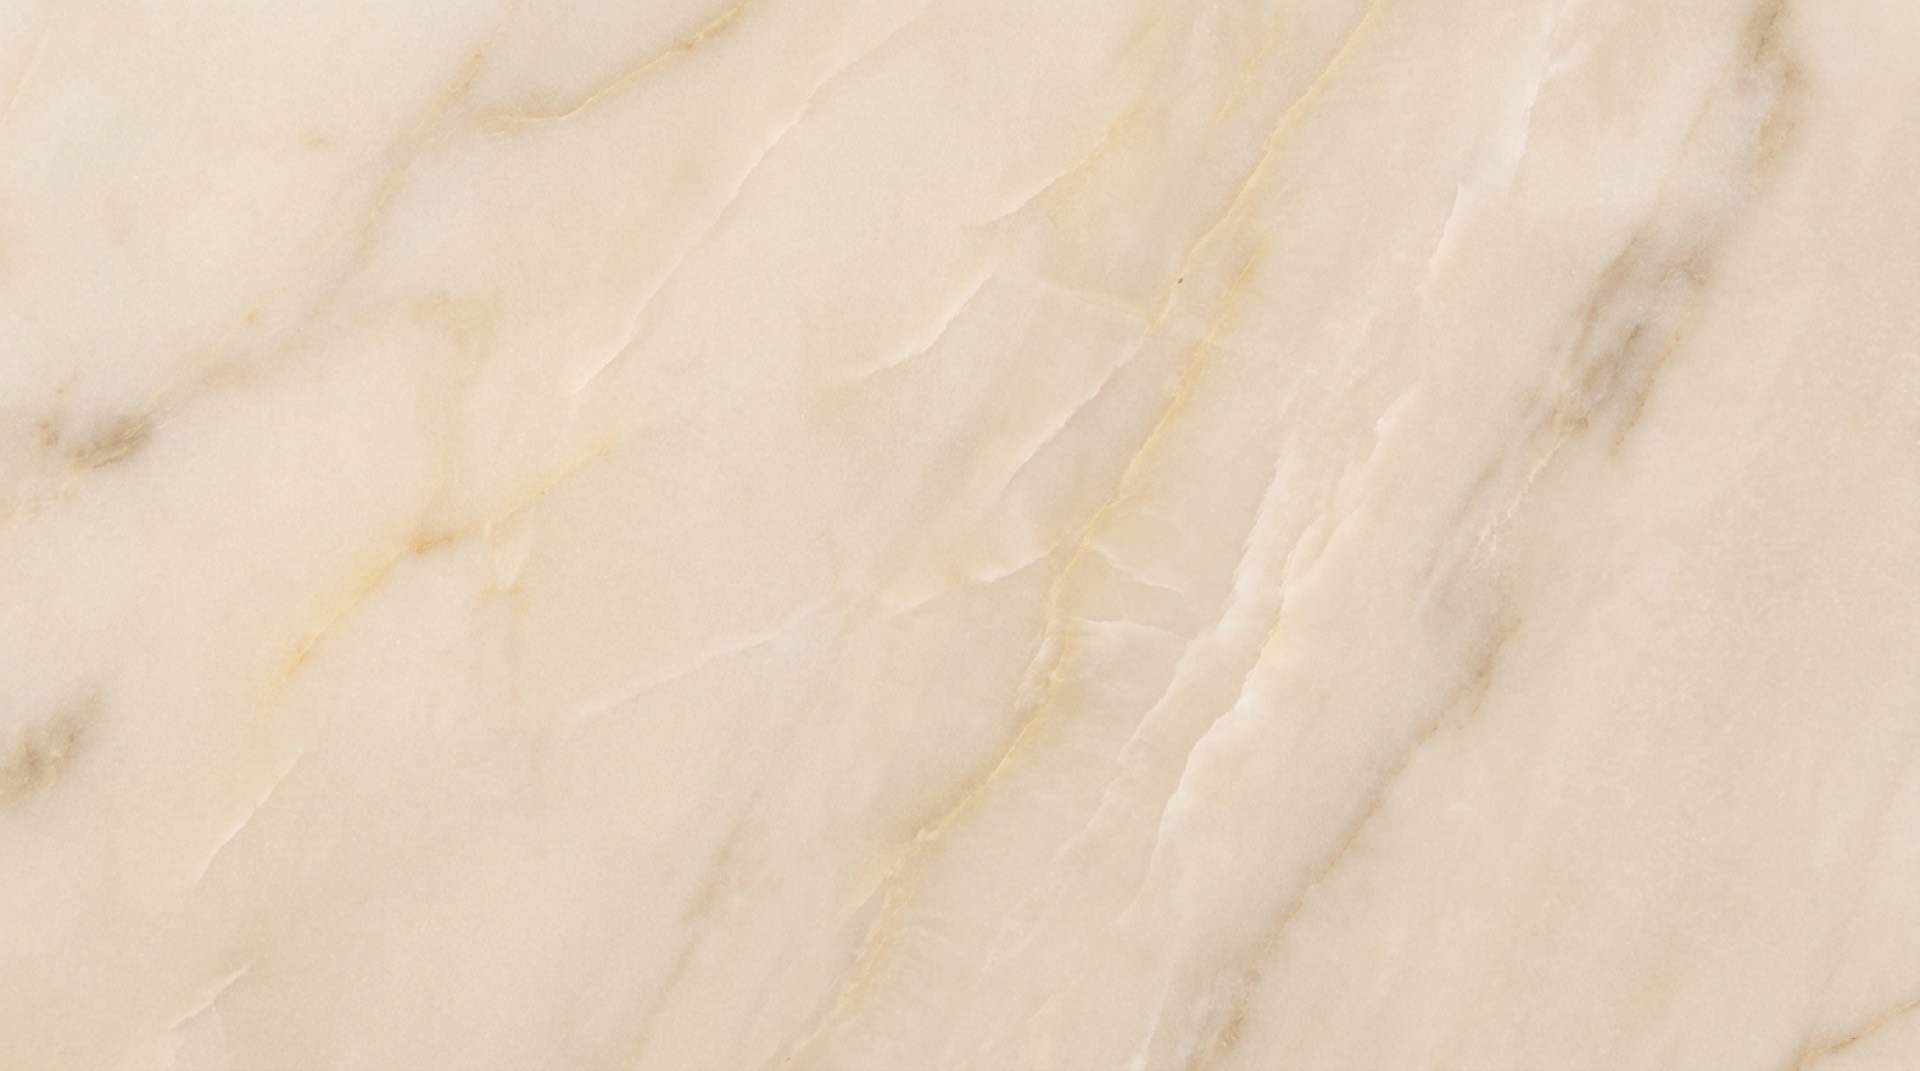
Look at the full slab before deciding. A sample shows color, but it can't show movement, scale or where the main vein will land.
Use fewer material changes
Several counter colors, mixed edge profiles, short backsplash fragments and unrelated sill materials can make a kitchen feel unsettled. Continuity usually does more for a room than variety.
Carry the counter material into the window sill when the proportions allow. Use the same stone at a nearby pantry or bar if the rooms share a sightline. Run a full-height backsplash to a clear architectural boundary instead of stopping it at an arbitrary point. If you need a second stone, give it its own zone and purpose.
The kitchen doesn't have to match everywhere, but each change of material should have a reason you could explain.
Keep edge profiles quiet
The edge draws a line around every horizontal surface, and in a calm kitchen that line should be consistent and in proportion.
An eased edge is popular because it's comfortable, durable and visually minimal. A small radius softens it further. A mitred edge can make a slab look thicker without using solid material throughout, but keep it for islands or other pieces that benefit from extra visual weight.
Elaborate profiles can suit traditional interiors, but they compete with active veining. As a rule, the busier the slab, the simpler the edge. Our edge profiles page shows the options side by side.
Plan seams as part of the layout
Seams are normal. Slabs have fixed dimensions, kitchens have long runs, and pieces have to be handled safely. A calm design puts seams where the eye already expects a break.
Good locations include sink cutouts, changes in cabinet direction and natural divisions in the slab pattern. Avoid short pieces and narrow stone bridges, which add visual noise and structural risk. Where two pieces meet, review their color, vein direction and surface height together.
A photographed slab layout lets you judge seams before cutting, which matters most with directional quartzite and marble. See where countertop seams should go.
Plan the backsplash with the counter
A full-height slab backsplash can make a kitchen feel quieter by removing grout lines and small tile joints. It also ties the counter to the upper cabinetry.
Coordinate every penetration before fabrication. Outlets, switches, pot fillers, hood fasteners, shelf brackets and window trim all interrupt the surface. Line up devices where you can, and choose cover plates that relate to the hardware or the stone.
At the ends, stop the backsplash at a cabinet edge, a wall return or another clear line. Small tabs and uneven ends make an installation look unfinished.
Let storage keep the counters clear
A kitchen looks calm when everyday things have a place to go. Plan appliance garages, tray storage, utensil drawers, charging spots and waste pull-outs before the island and counter details are final. A clear surface is easier to keep clear when the tools you use most have homes nearby.
Stone can support that plan through coffee bars, pantry counters, recessed ledges and durable tops on low cabinetry. Remnants are often big enough for these areas.
Keep heavy stone shelves short in span and properly supported, and coordinate their placement with the wall framing and backsplash fabrication.
Choose a finish that suits the light
Polished stone reflects windows, pendants and under-cabinet lighting. That can brighten a dark room, but it can also make an open kitchen feel busier. Honed and leathered finishes absorb more light and usually look softer.
Test the slab next to your actual cabinet and flooring samples, under the room's daylight and the lighting you plan to install. Warm LEDs can push a gray stone toward beige, and cool daylight can bring out blue undertones a showroom won't show.
Finish also changes how wear shows. Honed marble hides etching better than polished marble, and leathered granite hides fingerprints and adds texture. Choose the look and the upkeep together; our honed vs. polished guide compares them.
Detail the sink and cooktop zones
Cutouts interrupt the slab, so space them with care. Center fixtures where that makes sense for use, leave enough stone around openings, and group accessories instead of scattering them.
Choose the sink reveal before fabrication, and coordinate the faucet, filtered-water tap, soap dispenser, air switch and window conditions. Around a cooktop, check clearances, support and how the appliance edge meets the stone.
A few well-aligned openings look calmer than holes added after installation.
Use a whole-room detail schedule
Before templating, write down the material, finish, thickness, edge, overhang, backsplash height, sink reveal, seam intent, outlet locations, support, and any waterfall or mitred returns. Check the list against the current cabinet and appliance information.
With a schedule, the designer, homeowner, cabinetmaker, electrician, plumber and fabricator all work from the same decisions, and small inconsistencies don't creep in during construction. We review these details at templating and slab layout, then fabricate the pieces as one coordinated set.