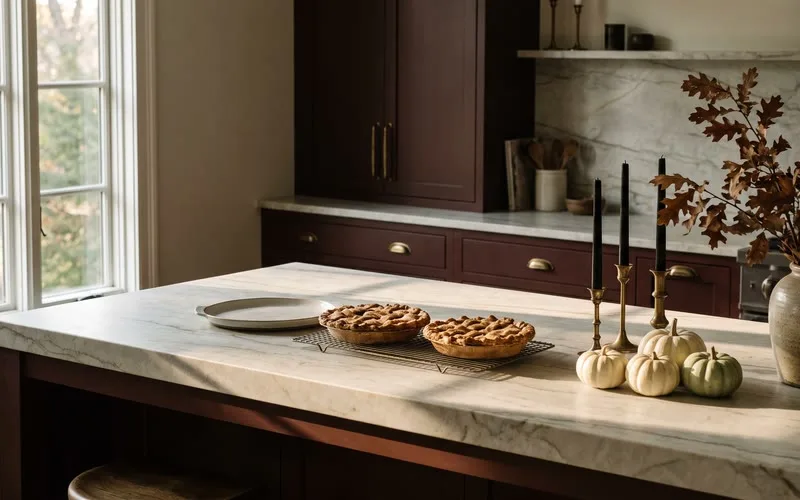
Planning stone for islands, sink runs, full-height backsplashes, shelves and pantries so a busy kitchen works as well as it looks.
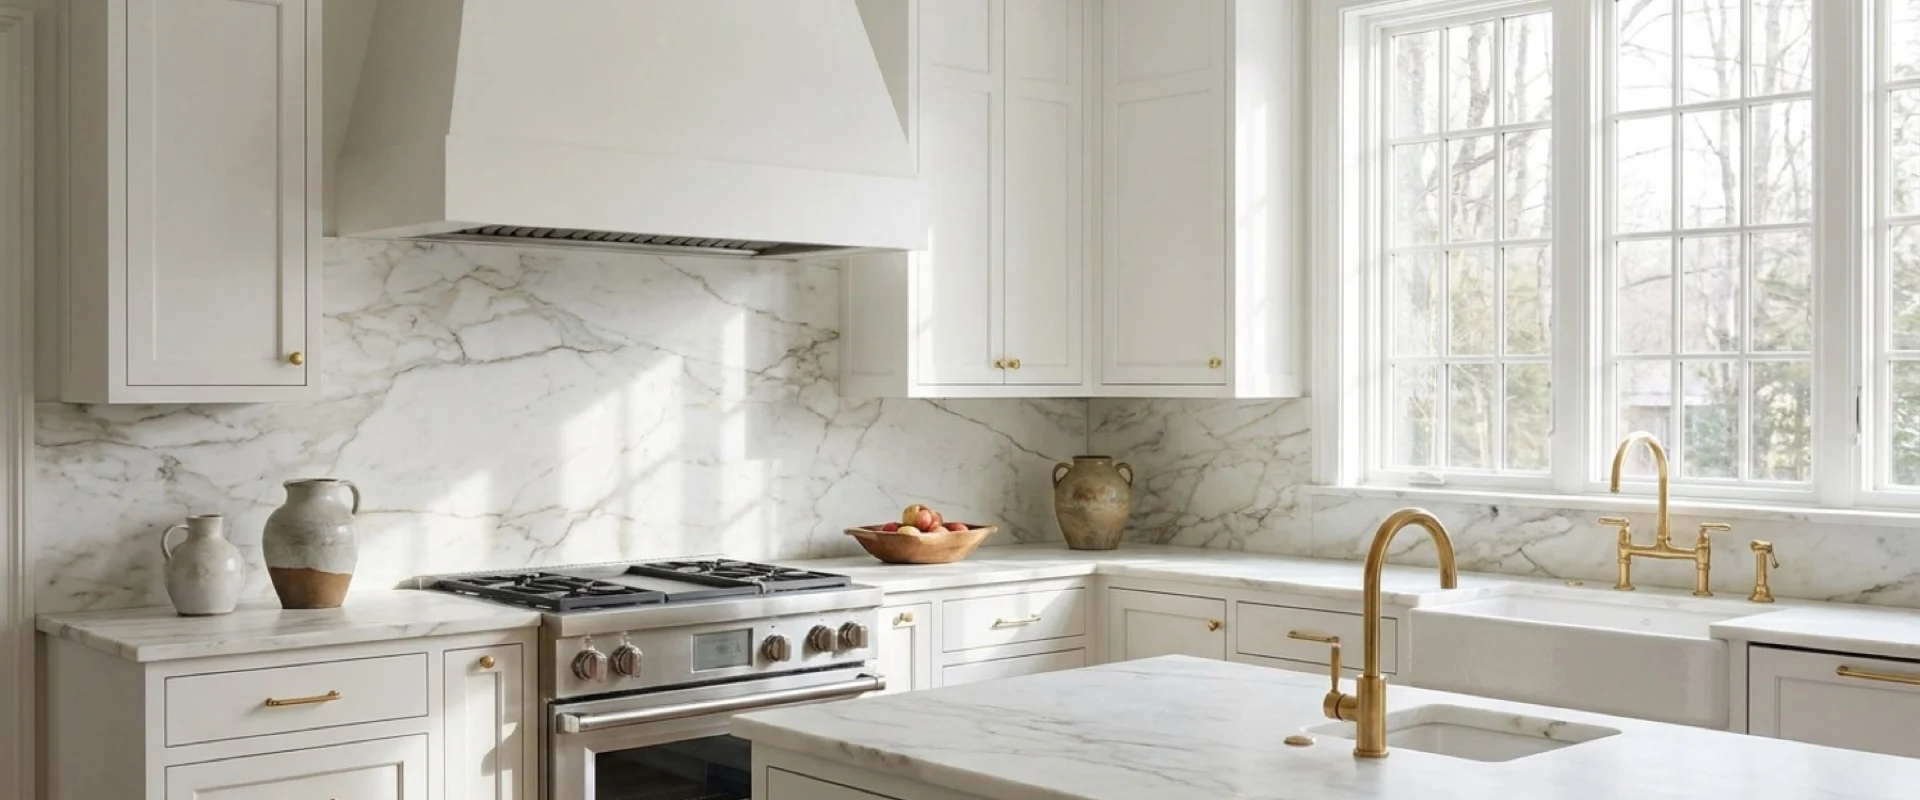
A hardworking kitchen is organized around tasks: preparing food, cooking, cleaning, serving, storing appliances and gathering. Stone works best when every piece supports one of those tasks. Start with the cabinet plan and appliance locations, then decide where the surface should stay continuous, where it can turn up the wall, and where a different material would work better.
Give the island a clear purpose
An island can be a prep surface, a sink station, a range platform, a serving counter or a place to sit. Asking it to be all five usually means tight clearances and too many interruptions in the slab.
Choose the main function first. A prep island benefits from an uninterrupted stretch of a durable stone such as granite or quartzite. A seating island needs a comfortable overhang and concealed support. A sink island needs careful placement of the cutout, faucet, air switch, dishwasher and seams. A waterfall end gives the island a strong architectural finish, as long as the vein is laid out to turn the corner.
Plan the storage under the island before confirming seams and brackets. Drawer banks, pull-out trash, appliances and support steel all compete for the same space.
Use full-height stone where it solves a problem
A full-height slab backsplash removes grout joints, protects the wall and gives you one continuous surface behind the range or sink. It's especially effective when the slab has veining worth carrying up the wall.
The layout has to be coordinated before cutting. Confirm outlet locations, cabinet bottoms, range clearances, window trim, hood dimensions and any floating shelves. Moving an outlet after the backsplash is fabricated can break the pattern and leave a patch you could have avoided.
If the stone is busy, leave enough open wall for the veining to read. A full-height backsplash crowded with small shelves and accessories loses the clarity that justified it.
Detail the sink run for daily use
The sink area gets more water, impact and cleaning than any other part of the kitchen, so detail the stone for it:
- Confirm the exact sink model before templating.
- Choose the reveal: positive, negative or flush.
- Leave enough stone in front of and behind the cutout.
- Space faucets, soap dispensers, filtered-water taps and air switches comfortably.
- Coordinate dishwasher brackets and cabinet rails.
- Keep seams away from narrow, vulnerable stone sections where possible.
An integral stone sink makes a very unified result in soapstone and a few other materials, but it needs specialized fabrication and an owner comfortable with the material's upkeep.
Turn small pieces of stone into useful details
Not every useful piece of stone needs a full slab. Remnants and offcuts can finish a pantry counter, coffee bar, appliance garage, window sill, shelf, niche or serving ledge. These pieces protect millwork and let a material repeat without overwhelming the room.
A pantry or bar can use a contrasting remnant because it's visually separate from the main kitchen. A window sill cut from the counter slab ties the sink wall together. A short stone shelf can work above a backsplash when the support and load are planned before fabrication.
Keep shelf spans conservative. Stone is heavy, and narrow pieces can crack if brackets are poorly placed or the wall isn't prepared.
Keep transitions simple
A calm kitchen usually has few abrupt changes in thickness, edge and backsplash height. Decide where the counter stops, where it rises, and how it meets window trim, tall cabinets and appliance panels.
Use one main edge profile across the room. An eased edge is durable, comfortable and visually quiet. Use a mitred build-up only where extra thickness helps the design, and if the island has a waterfall, the perimeter doesn't need another elaborate detail.
At inside corners, decide whether the veining should turn, mirror or stop. At outside corners, confirm how the edge is reinforced. These choices look small on a drawing and very visible once the stone is installed.
Choose materials for how the kitchen is maintained
Quartzite and granite suit cooks who want heat resistance and durability. Marble suits owners who like natural change and can accept etching. Soapstone resists heat and acid but scratches and darkens with use. Engineered quartz is consistent and non-porous indoors but needs protection from high heat and ultraviolet light. Porcelain resists stains, heat and sunlight in a thin profile, though its edges need careful handling.
Finish changes both performance and appearance. Honed surfaces reduce glare and make wear less obvious. Leathered granite adds texture and hides fingerprints well. Polished stone deepens color and reflects light but shows smudges and etching more readily. Our honed vs. polished guide compares them.
Choose the actual slab and talk through maintenance before you finalize the design.
Coordinate appliances and stone early
Ranges, cooktops, refrigerators, wall ovens and under-counter appliances all have installation tolerances. Fabrication drawings should use current manufacturer specifications, but the final template has to follow the installed cabinetry and the real appliance dimensions.
Confirm whether the range sits proud of the cabinets, how the stone meets the side panels, and whether a cooktop needs support or ventilation clearances. Plan the stone around appliance handles and doors so nothing collides.
Don't approve final dimensions from cabinet drawings alone. Walls drift, cabinets settle, and openings differ from nominal sizes. Our guide to how templating works explains what gets measured on site.
Slab layout decides what's left over
Slab planning also decides whether enough material remains for a pantry, bar, sill or a future repair. Mapping the pieces on photographed slabs shows you where the major veins land and lets the shop use the stone efficiently.
Place the island and other focal pieces first. Then fit the perimeter runs, backsplashes and smaller details in an order that keeps the pattern continuous and the yield high. Seam placement is part of this step; see where countertop seams should go.
A practical planning sequence
- Finalize cabinetry and appliances.
- Choose the material and the actual slabs.
- Decide edge profiles, backsplash heights, overhangs and sink details.
- Review support and outlet locations.
- Template once the cabinets are installed and level.
- Approve the slab layout and seams.
- Fabricate and install.
We handle these decisions with you from slab selection through installation. Get in touch to start.